
DIY tutorial library
DIY hardwood guidance for the jobs you can handle—and the ones that need more care.
A practical homeowner library for routine care, smart tool choices, and knowing when a floor needs an in-person look.
Direct answer
Routine care can be a good DIY job. Full sanding and color changes are bigger projects: the normal starting map is coarse-to-fine sanding, but the floor’s construction, finish history, and condition decide whether that map fits.
Start with the floor
Good decisions begin with what you can see.
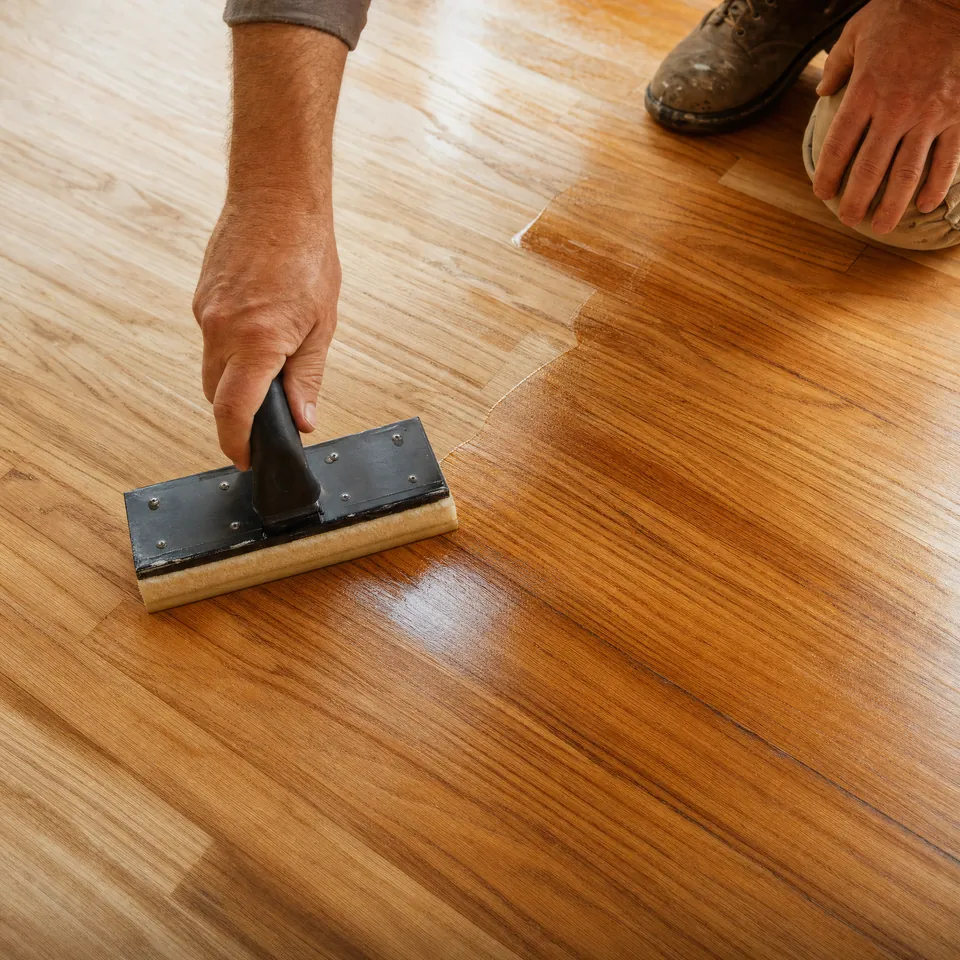
This PHR-supplied floor photo is here to give the guide a real wood reference. It does not diagnose your floor or promise the same look. The details below help you ask better questions about your own home.
Start with the floor, not the tool rental
Before any work, identify whether the floor is solid, engineered, factory-finished, site-finished, oiled, or unknown. Record prior cleaners, waxes, polishes, water events, and visible bare wood. Unknown is a valid answer—and a reason to pause.
- Use dry debris removal and prompt spill cleanup for routine care.
- Avoid wet mops and steam mops unless the actual flooring manufacturer specifically permits the method.
- Do not use a generic online tutorial to override a product label, technical data sheet, or written warranty.
A practical sandpaper starting point
Most wood floors are sanded in stages, moving from coarse to fine. Bona’s homeowner guide uses 40, then 60, then 100 grit for many floors. A common broader starting map is 36–40, then 60, then 80, with 100–120 as an optional final pass. Move up in small steps so each pass removes the scratch pattern left by the one before it.
- 16–24 grit: reserve this for unusually rough floors with heavy old coating, paint, glue, or deep damage. Most homes do not start here.
- 36–40 grit: a common first pass for old finish and light unevenness.
- 60 grit: refines the first-pass scratch pattern.
- 80 grit: smooths the floor ahead of finish.
- 100–120 grit: an optional final pass when the identified finish system calls for a finer surface.
Tools: rent the machines, buy the safety gear
Rent the big machines for a one-time project. A drum sander cuts fast and can leave a gouge if it is mishandled. An orbital or multi-disc floor sander is slower and more forgiving. The edger handles the perimeter; a buffer or floor polisher is used for final smoothing or a screen-and-recoat. Buy the basic protection and dust-control supplies.
- Rent: floor sander, edger, and buffer or floor polisher when the rental shop matches the machine to the job.
- Buy: a fine-dust-rated respirator, safety glasses, knee pads, painter’s tape, plastic sheeting, and a shop vacuum with a fine-dust filter.
- Brand names you may see include Norton, 3M, Diablo, Festool, and Mirka. Match the abrasive format to the rental machine; these are examples to recognize, not a PHR brand recommendation.
Professional assessment is the correct next step when
Deep damage, exposed wood, cupping, crowning, buckling, recurring squeaks, unknown construction, unknown coating history, active water, contaminated water, mold concern, and work that may disturb pre-1978 coated surfaces need qualified assessment.
- EPA warns that pre-1978 renovation can create dangerous lead dust.
- OSHA identifies airborne wood dust from sanding and cutting as a health hazard.
- Water-source control and documentation come before cosmetic repair.
Sources & references Reference table and citations
| Project or symptom | Safe first action | What to check before moving on |
|---|---|---|
| Fresh spill | Stop the source when safe; blot promptly; document the area. | Whether moisture reached beneath the surface. |
| Surface scratch | Identify the finish; use only manufacturer-compatible care. | Whether the mark is only in the finish or reaches wood. |
| Squeak | Document location, timing, and whether it is localized or widespread. | What is moving before drilling or fastening. |
| Screen & recoat | Confirm light wear and identify the current finish/maintenance history. | Whether the existing finish will accept a fresh coat. |
| Full sanding | Check construction, wear layer, lead, dust, and finish-system requirements. | Whether the general grit map and finish system fit this floor. |
- Bona — How to Sand a Wood Floor
- Bona — Modern Day Sanding Sequences
- Flooring Clarity — Sandpaper Grit for Hardwood Floors
- EPA — Lead-Safe Renovations for DIYers
- OSHA — Wood Dust
- NWFA — Refinishing Your Floors
- NWFA — Maintenance
Last reviewed: October 6, 2026. Exact products, prices, and project choices should always be checked against current information and the real floor.